Using scenes in OBS
OBS can be used to mix a number of visual feeds together and present those to Teams as a single virtual camera feed. This enables you to transition smoothly between cameras, show picture-in-picture (which provides a talking head alongside an image of your whiteboard area), and provide a waiting room image before the start of a tutorial.
Creating and using scenes
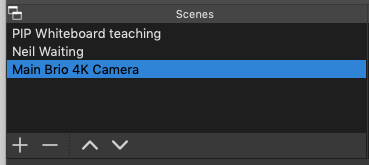
In the bottom left hand corner of OBS, you will see a box titled Scenes (next to the Sources box). Click + to add a new scene, and give it a title.
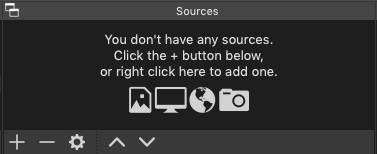
Next you need to add your camera sources and any static images to the Sources tab at the bottom of the OBS window. Click + to add a new source and select Video Capture Device for cameras or Images for static images (for a waiting room tile).
For each Scene you create, you need to add the sources that you want to display to that Scene. However, after you have added a source to one Scene, it will appear in your existing sources list, and can be selected using the Add Existing option.
The Scene Transitions tab (at bottom of OBS window towards the right) can be used to control how you move between scenes, in a similar way to slide transitions in powerpoint. A simple Fade with a duration of 500 ms is a good setting to choose.
To transition between scenes while using OBS, just click between the scenes you have created in the Scenes tab, and they will transition. The viewers of the virtual camera feed will see the same images as you do in the OBS window in the same sense.
Note in teams, the image will be inverted to you, but not to your viewers.
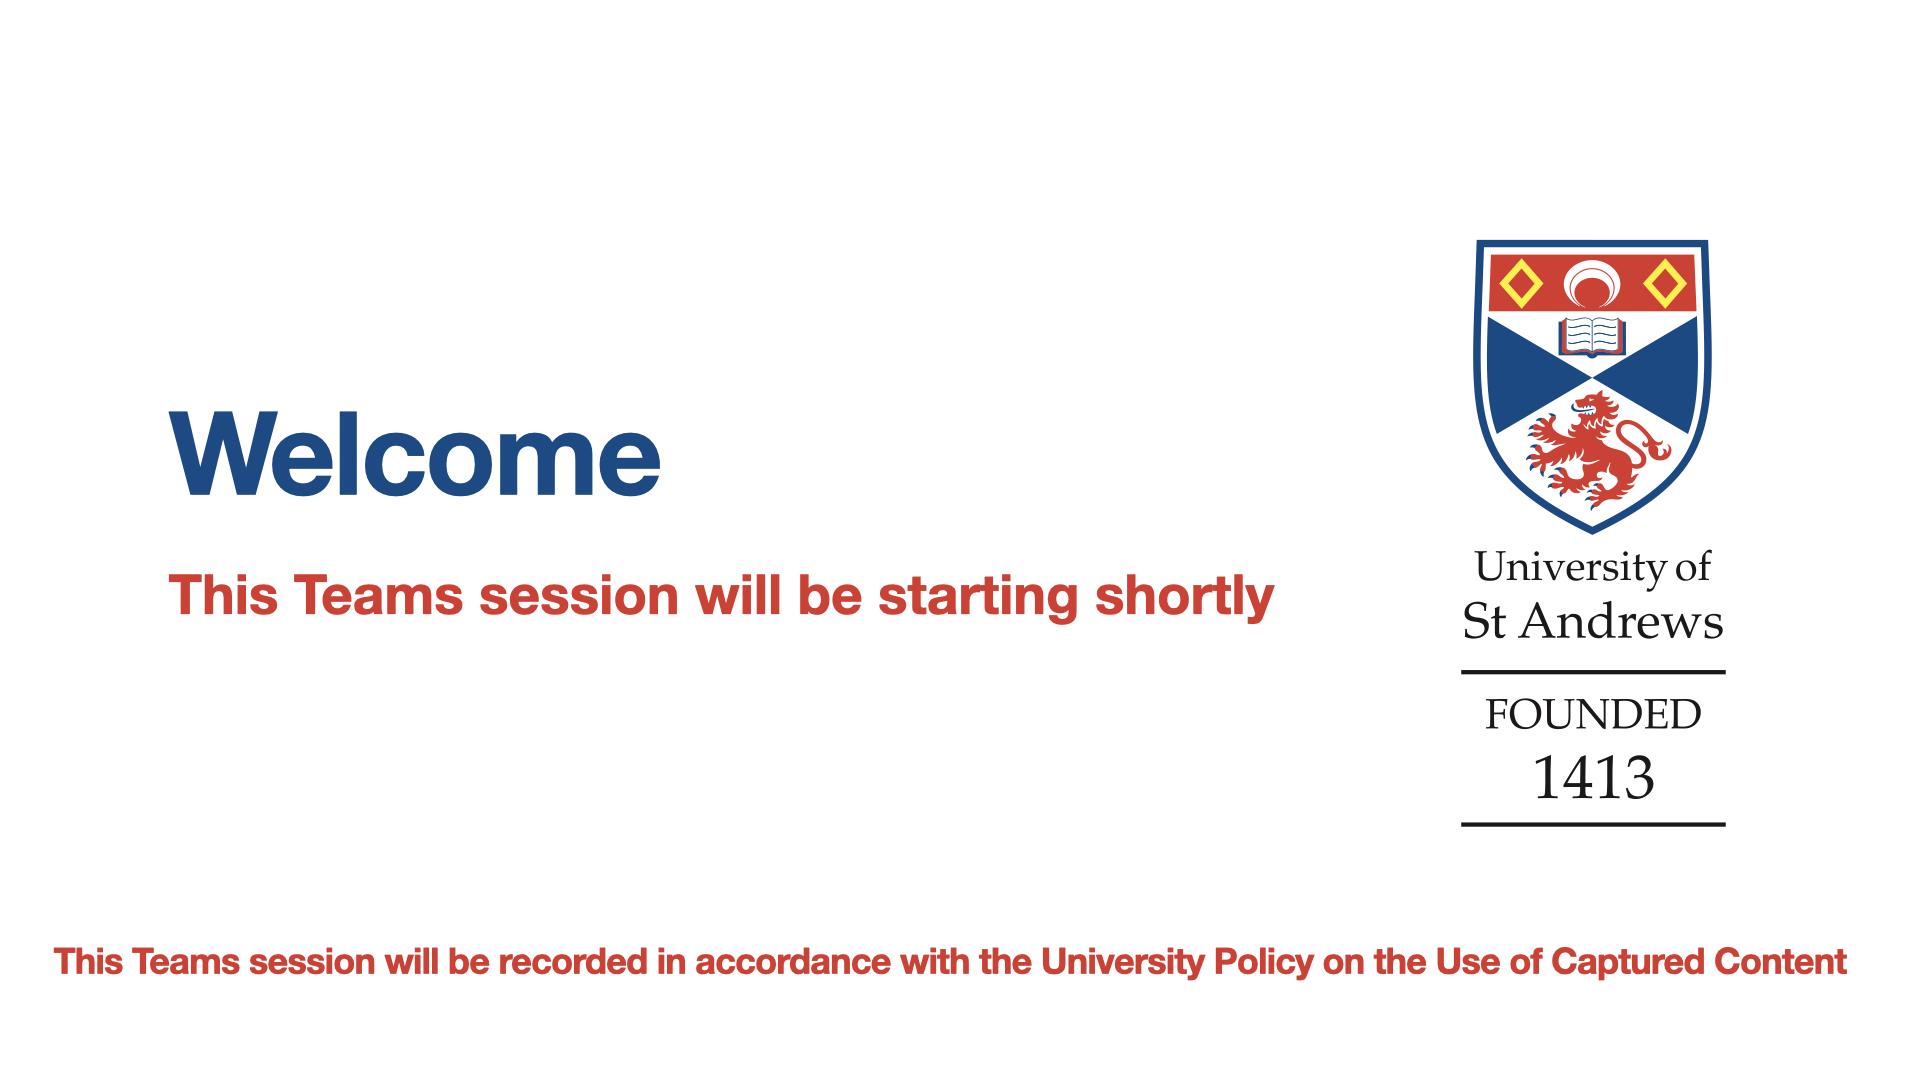
Waiting room tile
You can show a static image as a scene, which can be used as a waiting room image, showing that you have joined the Teams meeting / tutorial, but have not yet started. Click on the image to download for use in OBS for tutorial delivery.

To add your image as a Scene, first click + in the Scenes tab and name your new scene “Waiting Room”. Next, click on the Sources tab at the bottom of the screen and the click +. Select Images and then navigate to your copy of the waiting room tile (downloaded from above). This should fit completely in the image area on OBS, but if it is truncated, you can you the image handles to move and resize it.
When using these cards, remember to mute your microphone in Teams, until you are ready to begin. We have provided 3 standard tiles to use. To download them, click on each image below.


Using scenes tutorial
Thanks to Professor Doug Philp for providing this screencast.